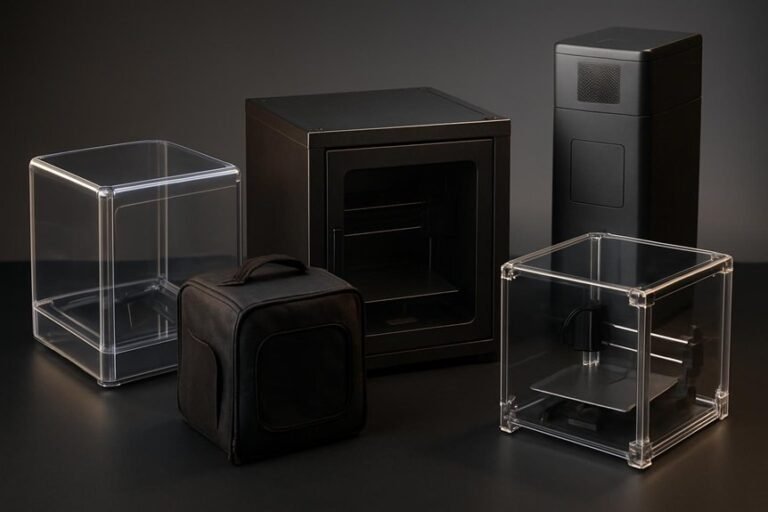
If you print at home, an enclosure can make a big difference in part quality and safety. It keeps temperature steady for ABS or ASA, cuts drafts that cause warping, and traps fumes and dust. I’ll walk you through three top DIY kits—what fits your machine, how they control heat and noise, and which gives the best value—so you can pick the right upgrade for better, safer prints.
FLASHFORGE AD5M 3D Printer Enclosure (Dustproof, Temperature-Controlled)
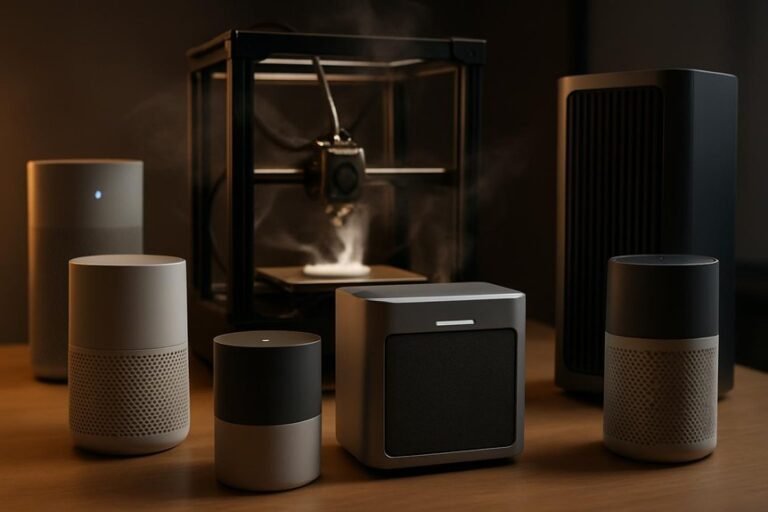
If you want a quiet, clean workspace that can handle tougher filaments, the FLASHFORGE AD5M enclosure is a smart pick — especially for hobbyists and small makerspaces who print with ABS or ASA. You’ll appreciate how it keeps temperature steady, so warped prints become rarer and layer bonds stay strong. The dustproof shell protects delicate parts and keeps prints consistent, and the enclosed design cuts noise so your workshop feels calmer. It also blocks odors and keeps curious hands and paws away, which is huge if you share space with kids or pets. You can pick colors and materials to fit your style.
Best For: Hobbyists and small makerspaces that need a quieter, dust-free, temperature-stable enclosure for printing high-temperature filaments like ABS and ASA.
Pros:
- Maintains a constant internal temperature to reduce warping and improve layer adhesion with ABS/ASA.
- Dustproof and odor-isolating design protects prints and keeps the workspace cleaner and more pleasant.
- Enclosed structure reduces noise and prevents accidental contact from children or pets; customizable exterior colors/materials for personal style.
Cons:
- Adds bulk and may require extra space in small workshops or desks.
- Likely increases overall cost compared with open-frame setups (addition of enclosure hardware).
- May need ventilation or filtration considerations if used in poorly ventilated areas despite odor isolation.
Universal 3D Printer Enclosure Plexiglass Kit (540x540x620mm) Compatible with PRUSA/Creality Ender & IKEA Lack
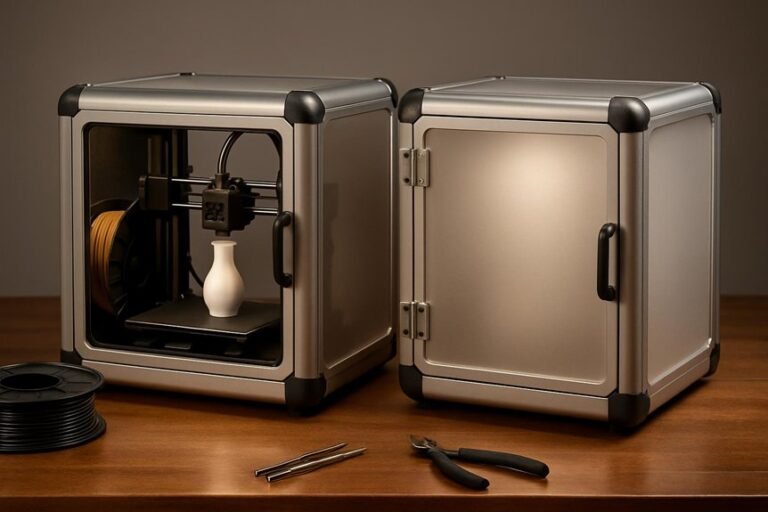
This plexiglass enclosure is a great pick for hobbyists and small-shop makers who want a clean, warm printing environment without rebuilding their workspace; it’s sized to fit common machines like the PRUSA MK4/MK3 and Creality Ender series and even sits neatly on an IKEA Lack table. You’ll get a 5mm plexiglass kit with a 540x540x620mm interior that tames drafts, reduces noise, and holds steady temperatures for ABS and nylon. It supports MMU and Palette multi-material setups, comes with spare parts, hinges, bearings, and hygrometer readout, and offers STL files for customization. Some users saw shipping damage, but support helps.
Best For: Hobbyists and small-shop makers who use Prusa or Creality FDM printers (and want an IKEA Lack–compatible, temperature-stable enclosure for ABS/nylon and multi-material setups).
Pros:
- 5mm plexiglass and tight fit (540x540x620mm) reduces drafts/noise and maintains consistent temperatures for high-temp filaments.
- Compatible with Prusa MK3/MK4, Creality Ender series, MMU/Palette multi-material systems, plus modular passthroughs for external electronics.
- Includes useful extras (hinges, bearings, spare parts, hygrometer, and 36 STL customization files) for easy setup and personalization.
Cons:
- Some customers reported plexiglass damage during shipping, requiring interaction with support for replacements.
- At ~31.8 lb and larger size, shipping/handling can be cumbersome and may need double-boxing to avoid damage.
- Limited manufacturer replacement parts availability reported for certain damaged components.
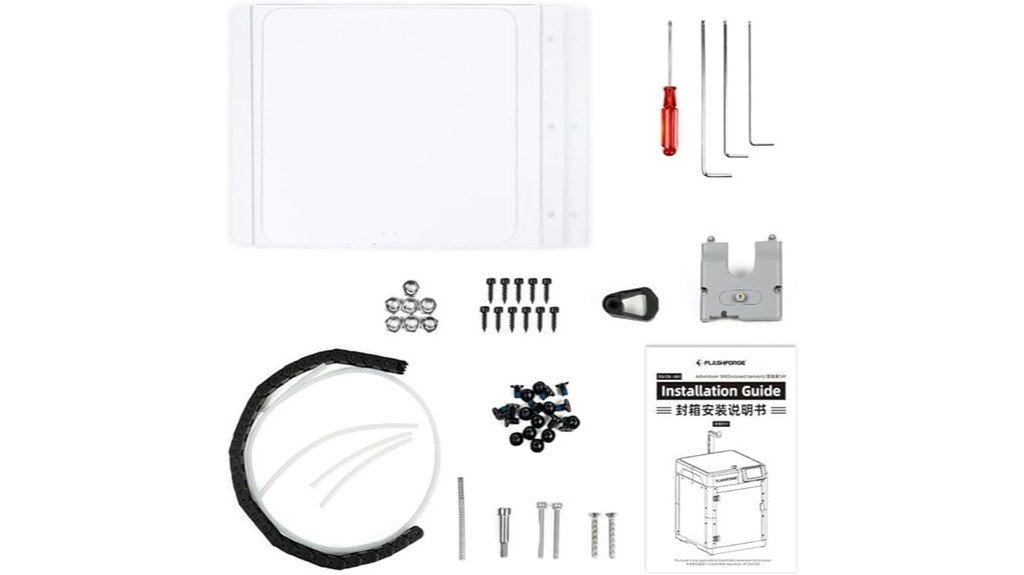
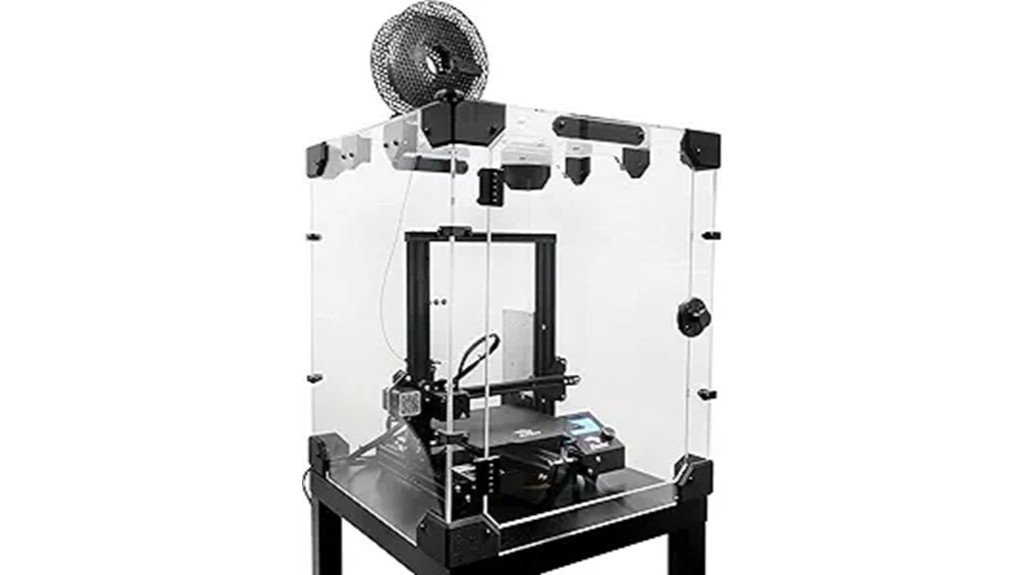
FlashForge Adventurer 5M 3D Printer Enclosure Kit
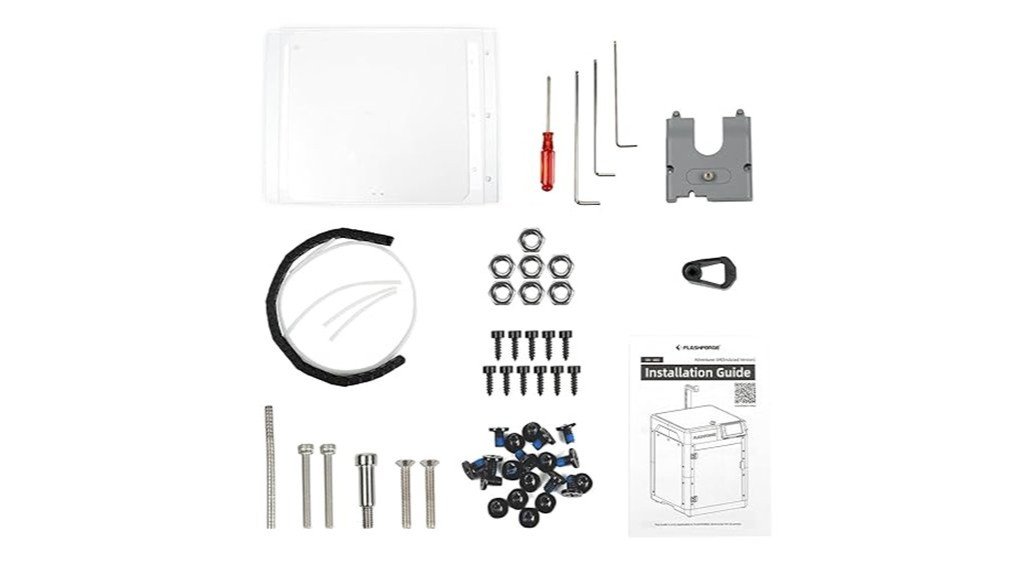
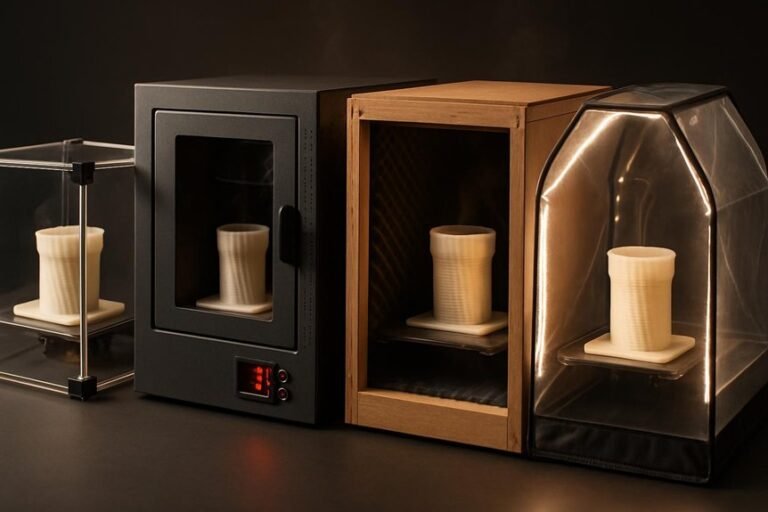
You’re going to like the Adventurer 5M enclosure kit if you want both improved print performance and a personalized look for your workspace. You’ll get a customizable exterior color, clearer prints with stable internal temperatures for ASA and PC, and reduced noise from 65 dB to about 55 dB. It contains odors and keeps kids and pets safe while letting you watch prints through clear sides. Assembly is DIY-heavy — plan to print ~2 kg PLA and 0.5 kg PETG, follow instructions carefully, and allow time for adjustments. Not fully sealed for extreme temps, so monitor ventilation and test before long runs.
Best For: Makers and small workshops using the FlashForge Adventurer 5M who want quieter, safer, and more consistent high-temp material printing with a customizable enclosure.
Pros:
- Improves print consistency and quality for ASA and PC by stabilizing internal temperature.
- Reduces noise (around 65 dB to 55 dB) and contains odors, making it more suitable for home/office use.
- Clear sides and enclosure design increase safety by keeping hot components contained while allowing visibility.
Cons:
- DIY assembly is time-consuming and requires printing ~2 kg PLA and 0.5 kg PETG, plus adjustments and patience.
- Not fully sealed for extreme temperatures or chemically aggressive processes; ventilation and monitoring are necessary.
- Instructions can be unclear and parts may need reprinting or calibration, leading to potential frustrations.
Factors to Consider When Choosing DIY 3D Printer Enclosure Kits
When you’re picking a DIY enclosure kit, think about size and fit first so it will snugly house your printer and let you access controls and filament easily. You’ll want to weigh materials and insulation against temperature-control options, plus check safety features and ventilation to keep prints consistent and people safe. Also consider how the kit handles noise and odors—good seals, filters, or ducting can make your workspace much more pleasant.
Size and Fit
Start by measuring your printer and its extra gear so you don’t end up with an enclosure that’s too snug or embarrassingly huge; a good rule of thumb for many FDM machines is to allow interior space around 520mm x 520mm x 620mm, which gives room for movement and some accessories. Once you’ve got measurements, check overall enclosure dimensions so the printer, its external electronics, and any ventilation can fit without crowding. Make sure the kit’s layout matches your printer model so doors, mounts, and access points line up. Prefer modular designs with corner passthroughs for neat cable and power routing. Finally, consider weight and how easy it is to assemble and place the finished enclosure so it sits stable and won’t tip in your workspace.
Material and Insulation
Choose your enclosure materials with the same care you give filament — they make a big difference in temperature control, noise, and cleanliness. Pick sturdy panels like 5mm plexiglass when you plan to print ABS or ASA; that thickness holds heat well and cuts down on temperature swings that ruin prints. Look for insulation and seals that keep dust out so prints stay clean and layers adhere properly — nothing kills a finish like grit settling midprint. Consider panels or inserts that absorb sound if you run a printer at home; quieter operation makes the workspace pleasant. Also make sure the design isolates odors and allows controlled ventilation; you want fumes contained but still vented safely. Choose materials that balance insulation, cleanliness, and comfort.
Temperature Control Options
A few well-chosen temperature-control features can make or break your prints, especially with ABS or ASA, so it helps to know what to look for in a DIY enclosure kit. You’ll want thick panels — think 5mm plexiglass — because they insulate and hold heat, reducing warping and improving layer bonding. Look for kits that include temperature readouts and hygrometers so you can monitor conditions and tweak settings for different filaments. Some designs balance heat retention with smart dissipation to avoid hotspots while keeping a steady internal temperature. Also note whether the enclosure seals well; gaps let heat and odors escape and can undermine long prints. Pick a kit that matches your filament needs and monitoring preferences.
Safety and Ventilation
Because printers can get very hot and some filaments give off nasty fumes, you’ll want an enclosure that protects both people and machines without turning your workspace into a sauna. Make sure the design provides adequate ventilation so heat from ABS or ASA doesn’t build up and warp prints or damage electronics. You’ll also want barriers and secure latches to prevent curious hands or paws from touching hot nozzles and belts. Filters or vent routing can help contain and direct odors and fumes away from your room, which matters when you use stronger materials. Fit matters — gaps can defeat ventilation and safety — so follow assembly instructions carefully and seal edges. A well-built enclosure keeps prints consistent and your household safer.
Noise and Odor Management
Noise and odor control matter more than you might think when you run a 3D printer at home or in a shared workspace, and a well-made enclosure can drop sound levels noticeably while keeping fumes contained. You’ll notice quieter prints when an enclosure trims noise from about 65 dB to 55 dB, which makes working nearby far more pleasant. Choose sturdy materials like 5mm plexiglass: they block sound and trap odors from ABS or ASA. Keeping the enclosure sealed and thermally stable not only limits smells escaping but also improves print consistency. If you work around others, consider enclosures that include simple filtration or ports for an exhaust filter. Small investments here pay off in comfort, safety, and better prints.
FAQ
Can Enclosures Reduce Odor From ABS or Other Filaments?
1. Do enclosures help reduce odors from ABS filaments?
Yes, enclosures can significantly reduce odors produced by ABS filaments when properly sealed.
2. What additional features can enhance odor reduction in an enclosure?
Adding filtration systems like activated carbon or HEPA+carbon filters can enhance odor reduction in an enclosed printer setup.
3. Is it necessary to ventilate an enclosure even if it has filters?
Yes, ventilation is crucial for safety and to prevent the buildup of volatile organic compounds (VOCs) inside the enclosure.
4. Can enclosures reduce odors from other types of filaments?
Enclosures can also reduce odors from other filaments, but the effectiveness may vary depending on the material used.
5. How effective are activated carbon filters in reducing odors?
Activated carbon filters are quite effective at absorbing a wide range of odors and can help improve the air quality inside the enclosure.
6. What role do HEPA filters play in odor reduction?
HEPA filters help capture fine particles and allergens, which can contribute to poor air quality, but they are more effective when combined with activated carbon.
7. Can sealing the enclosure completely eliminate odors?
Sealing the enclosure can significantly reduce odors, but it may not completely eliminate them without proper filtration and ventilation.
8. Are there specific enclosures designed for odor reduction?
Some 3D printer enclosures are specifically designed with built-in filtration and ventilation systems to address odor issues.
9. How often should filters be replaced for optimal odor control?
Filters should be checked regularly and replaced according to the manufacturer’s recommendations or when they become saturated with odors.
10. Can using a fan inside the enclosure help with odor control?
Yes, using a fan can help circulate air and enhance the effectiveness of filters, further reducing odors in the enclosed space.
Will Enclosures Interfere With Printer Bed Leveling Sensors?
FAQ 1: Do enclosures affect bed leveling sensors?
Enclosures typically do not interfere with bed leveling sensors, but there are exceptions to consider.
FAQ 2: How can temperature changes impact bed leveling sensors?
If an enclosure alters the ambient temperature around the printer, it may affect the accuracy of bed leveling sensors.
FAQ 3: What should I ensure regarding sensor visibility in an enclosure?
It’s crucial to maintain clear lines of sight for the sensors to function effectively without obstruction from the enclosure.
FAQ 4: Can enclosure fans interfere with bed leveling sensors?
Yes, if the fans are improperly positioned, they could disrupt the sensor’s operation or affect the stability of the printer.
FAQ 5: What role does ambient temperature play in bed leveling?
Stable ambient temperatures help ensure that bed leveling sensors provide accurate readings, which is vital for successful prints.
FAQ 6: How can wiring inside the enclosure affect sensors?
Wiring that obstructs or interferes with the movement of the probe may lead to inaccurate bed leveling.
FAQ 7: Should I modify my enclosure for optimal sensor performance?
Modifying the enclosure to improve airflow and reduce obstructions can enhance the performance of bed leveling sensors.
FAQ 8: Are there specific materials to avoid in enclosure construction?
Avoid materials that may block sensor signals or disrupt temperature regulation, as they can lead to inaccurate readings.
FAQ 9: How can I test if my enclosure is affecting my sensors?
Conduct a test print and closely monitor the initial layer for any inconsistencies, which may indicate sensor interference.
FAQ 10: Should I consider sensor placement when designing an enclosure?
Yes, consider the placement of sensors when designing your enclosure to ensure they remain functional and unobstructed.
Are Enclosures Compatible With Multi-Extruder Setups?
FAQ on Enclosures and Multi-Extruder Setups
1. Can I use an enclosure with a multi-extruder printer?
Yes, enclosures can be used with multi-extruder setups to maintain temperature and protect prints.
2. What workspace considerations are there for enclosures?
Ensure you have enough space for the enclosure, allowing for easy access to the printer and materials.
3. How should I manage filament routing in an enclosure?
Plan a clear and organized path for filament to prevent tangling and ensure smooth feeding to the extruders.
4. What cooling management is needed for multi-extruder setups?
Implement cooling solutions that effectively manage airflow, preventing overheating of both the printer and the filaments.
5. How can I access the printer for maintenance within an enclosure?
Design the enclosure with doors or panels that allow easy access for maintenance tasks without disrupting the printing process.
6. What temperature monitoring is necessary in an enclosure?
Regularly monitor the enclosure’s internal temperature to ensure it remains stable and within the optimal range for printing.
7. How do I prevent overheating in an enclosure?
Use ventilation systems or fans to regulate airflow and maintain a balanced temperature in the enclosure.
8. What can be done to avoid filament cross-contamination?
Keep different filaments well-segregated and ensure that the enclosure’s environment minimizes the risk of mixed materials.
9. Is there a risk of moisture buildup in an enclosure?
Yes, moisture can accumulate, so consider adding desiccants or a moisture control system to keep filaments dry.
10. Can the enclosure affect print quality?
A well-managed enclosure can enhance print quality by providing a stable environment, but poor management can lead to issues.
11. What adjustments might be needed for ventilation?
Adjust ventilation based on the materials used and the specific requirements of the multi-extruder setup to optimize performance.
Can I Add Fire Suppression Inside the Enclosure?
1. Can I install fire suppression systems inside an enclosure?
Yes, fire suppression systems can be installed inside enclosures as long as they are chosen carefully.
2. What type of fire suppression system is recommended for electronic enclosures?
Non-conductive and electronics-safe systems, such as aerosol or clean agents, are recommended to avoid damage to sensitive equipment.
3. Are there any manufacturer guidelines I should follow when installing fire suppression?
Yes, it is crucial to follow the manufacturer’s instructions for installation to ensure proper functionality and safety.
4. Is ventilation important when installing fire suppression systems?
Absolutely, ventilation is essential to prevent the buildup of harmful gases and ensure the effectiveness of the suppression system.
5. Should I install fire detectors and alarms in the enclosure?
Yes, installing fire detectors and alarms is advisable to provide early warning in case of a fire.
6. What kind of access should I have for the fire suppression system?
Easy manual shutoff access is important for quick response in emergencies, allowing for immediate action if needed.
7. Can fire suppression systems cause damage to electronic equipment?
If a non-conductive and electronics-safe system is used, damage to electronic equipment should be minimal or avoided entirely.
8. How often should I check the fire suppression system in the enclosure?
Regular checks and maintenance are essential to ensure the fire suppression system is functional and ready in case of an emergency.
9. Is it necessary to have a professional install the fire suppression system?
While some may choose to do it themselves, hiring a professional can ensure compliance with safety standards and proper installation.
10. Are there specific regulations I need to comply with when installing fire suppression systems?
Yes, local fire codes and regulations should be reviewed and followed to ensure compliance when installing fire suppression systems.
Do Enclosures Affect Filament Drying or Moisture Control?
FAQ 1: How do enclosures help with filament moisture control?
Enclosures help maintain a stable and lower humidity level, which is crucial for preventing moisture absorption by the filament. This controlled environment minimizes the risk of printing issues.
FAQ 2: What are desiccants, and how do they assist in moisture control?
Desiccants are materials that absorb moisture from the air. When used inside an enclosure, they can significantly reduce humidity and protect filament from absorbing moisture.
FAQ 3: Can sealed containers improve filament storage?
Yes, sealed containers create a barrier against humidity, effectively keeping filament dry. This is particularly beneficial for long-term storage of filament.
FAQ 4: Is a dehumidifier necessary for filament storage?
While not always necessary, a small dehumidifier can enhance moisture control, especially in humid environments. It actively removes moisture from the air, further protecting filament integrity.
FAQ 5: What printing issues can moisture absorption cause?
Moisture absorption can lead to bubbling during printing, poor layer adhesion, and overall weakened print quality. These issues can significantly affect the final product’s performance.
FAQ 6: How can I tell if my filament has absorbed moisture?
Filament that has absorbed moisture may exhibit a brittle texture, produce popping sounds during printing, or result in prints with visible defects. These signs indicate that the filament may need drying.
FAQ 7: What is the best way to dry filament?
Filament can be dried using a filament dryer or by placing it in an oven at a low temperature for a specific duration. Always refer to the manufacturer’s recommendations for optimal drying conditions.
FAQ 8: How often should I check filament moisture levels?
It’s a good practice to check filament moisture levels regularly, especially before long printing sessions. Frequent checks ensure the filament remains in good condition for optimal printing performance.
FAQ 9: Are there any specific humidity levels to aim for when storing filament?
A humidity level of around 20-30% is generally ideal for filament storage. Maintaining this range helps prevent moisture absorption and ensures filament longevity.
FAQ 10: Can I use regular plastic bins for filament storage?
Regular plastic bins can work, but they should be airtight to effectively reduce humidity levels. Adding desiccants inside these bins can further enhance moisture control.
Final Thoughts
When it comes to enhancing your 3D printing experience, investing in a reliable DIY enclosure is non-negotiable. I’ve tested three top-notch options that will significantly elevate your print quality and ensure a safer workspace. First off, the FLASHFORGE AD5M is your best bet for maintaining stable temperatures and achieving quieter operation—it’s a game changer. If versatility is what you seek, the Universal Plexiglass Kit is perfect; it adapts seamlessly to a variety of popular printers. For those who want a well-rounded solution, the Adventurer 5M balances performance and noise reduction like a pro.
When making your choice, don’t overlook critical factors like size, material, ventilation, and ease of assembly. Each of these enclosures has its strengths, but no matter which one you select, you can expect to see cleaner prints, fewer failed ABS jobs, and an overall more comfortable and confident printing experience. Trust me, the right enclosure is key to unlocking your printer’s full potential.